Quick Summary
Putting green installation transforms any backyard, rooftop, or commercial facility into a year-round practice space that never needs mowing, watering, or reseeding. Artificial golf greens deliver consistent ball roll, realistic feel, and long-term durability at a fraction of the ongoing cost of natural grass greens. This guide covers everything you need to know before starting a project: turf types, cost breakdowns, a full step-by-step installation walkthrough, and how to keep your green performing at its best for years to come.
A perfectly maintained golf green used to mean relentless upkeep: daily mowing, irrigation schedules, aeration, fertilization, and a constant battle against weather damage. For homeowners, country clubs, and training facilities across Long Island, Westchester, Connecticut, and New Jersey, that level of commitment is no longer realistic or cost-effective. Natural grass greens are also highly vulnerable to Northeast weather: a wet spring can leave the surface waterlogged for weeks, a dry summer scorches it brown, and a hard winter can kill it entirely.
Whether you are looking at a residential putting green installation for your backyard or a full commercial practice facility, modern synthetic putting surfaces replicate the speed, feel, and visual quality of a championship course without the maintenance overhead. Turf Tek USA designs and installs custom artificial golf greens for clients across the Northeast, and the result is a surface that pays for itself over time and stays playable every single day of the year regardless of season, rain, or temperature.
What Does Putting Green Installation Cost?
Cost varies based on size, complexity, and quality of materials.
Keep in mind, an installation includes excavation, base construction, drainage, turf, infill, and cup placements. DIY kits skip the base preparation and drainage work that determine how well a green performs and how long it lasts. A poorly prepared base leads to wrinkles, drainage failures, and surface inconsistencies that cannot be fixed without pulling the turf up and starting over.
What drives cost up: sloped terrain requiring significant excavation and regrading, custom undulations, multiple hole placements, fringe and rough zones, and premium turf products. What the investment delivers long-term: natural grass greens at a residential scale can cost thousands per year in water, maintenance, and repair when everything is accounted for.
An artificial green eliminates nearly all of that. Every square foot of natural grass replaced saves an estimated 55 gallons of water per year, and a 500 sq ft green saves roughly 27,500 gallons annually. Most homeowners hit break-even within three to five years and save every season after that. Financing options are also available to spread the upfront cost over time.
Types of Turf for Putting Greens
Not all synthetic turf works for golf. Pile height, fiber density, and infill type all determine how a ball behaves on the surface. Using the wrong product produces an unrealistic roll, inconsistent speed, and an experience that bears little resemblance to actual course conditions. This is one of the most common mistakes in DIY installations and a key reason to work with an installer who specializes in commercial and residential athletic turf.
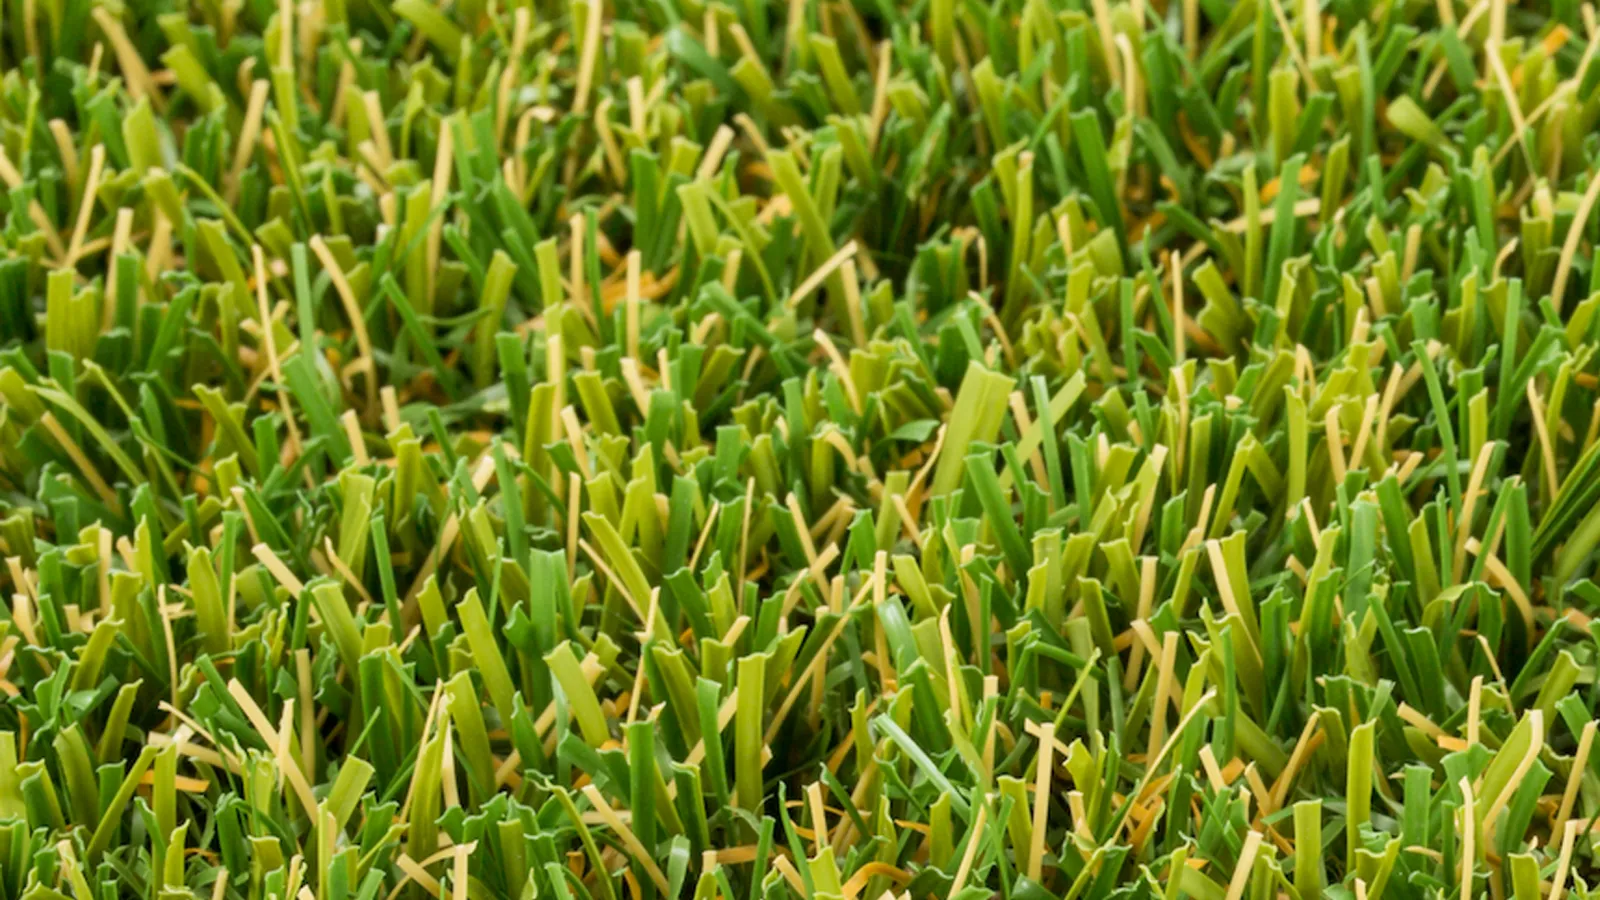
Putting surface turf is the core of any golf green installation. It uses very short, dense fibers, typically between 3/8 and 5/8 of an inch in pile height, designed to produce a smooth, fast ball roll that mimics a well-maintained bent grass green. Stimp speed is controllable through infill quantity, giving golfers the ability to dial in how fast or slow the surface plays. This is not a general landscape product; it is engineered specifically for the precise, low-pile performance that putting requires.
Chipping and short game turf sits a step above putting surface turf in pile height, typically between 3/4 and 1.5 inches. This slightly longer fiber allows a club to move through the surface more naturally on pitch shots and chips, simulating the feel of real fairway or fringe grass. If you want to build a complete short game and putting green area rather than just a putting strip, this turf is used on the surrounding chipping zones while the dedicated putting surface turf covers the green itself.
Fringe and rough turf completes the layout for golfers who want a truly course-like environment. Fringe turf runs at 1 to 1.5 inches and borders the putting surface, creating the visual and functional transition found on real courses. Rough turf sits at 1.5 inches and beyond, used at the outer edges of the practice area to simulate shots played from off the fairway. These zones add variety to a practice session and make the installation feel like a genuine on-course experience rather than a flat mat in a backyard.
The right combination depends on how you intend to use the space. A golfer focused purely on putting needs only a quality low-pile putting surface. A golfer who wants to sharpen all aspects of the short game benefits from all three zones working together across the total footprint of the installation.
Step-by-Step Putting Green Installation
Step 1: Plan the Layout
Decide on location, size, and shape before anything else. Good sunlight exposure helps the surface dry faster after rain. Proximity to trees means more debris cleanup over time, so factor that into placement. For most residential applications, 200 to 500 sq ft strikes the right balance between usability and cost. Irregular shapes with curves and gentle contours look more natural and allow for more varied hole placements than simple rectangles. For commercial greens, larger footprints with multiple tee positions, chipping zones, and sand traps require a detailed site assessment before finalizing the design.
Step 2: Excavate and Grade
The existing surface is excavated to 3 to 4 inches, removing all grass, weeds, roots, and debris. The ground is then graded to create slight slopes where needed for drainage and realistic breaks. Any depressions or high spots must be corrected here because inconsistencies at this stage directly affect ball roll on the finished surface. Precision grading separates a green that plays well from one that frustrates golfers with unpredictable bounces and speed variations.
Step 3: Install Weed Barrier
A geotextile landscape fabric is laid across the excavated area before base materials go in. This blocks weed growth from penetrating upward through the base over time and removes the need for herbicide treatments later.
Step 4: Build the Base
Crushed stone is spread across the area and compacted tightly. This permeable base provides the firm foundation the turf needs while allowing water to drain rapidly. A properly built base achieves drainage rates of 400 inches per hour, keeping the green playable in virtually any Northeast weather condition. Base thickness runs 2 to 3 inches for most residential greens, with deeper preparation required for larger commercial installations based on traffic expectations and site conditions.
Step 5: Roll Out, Seam, and Secure the Turf
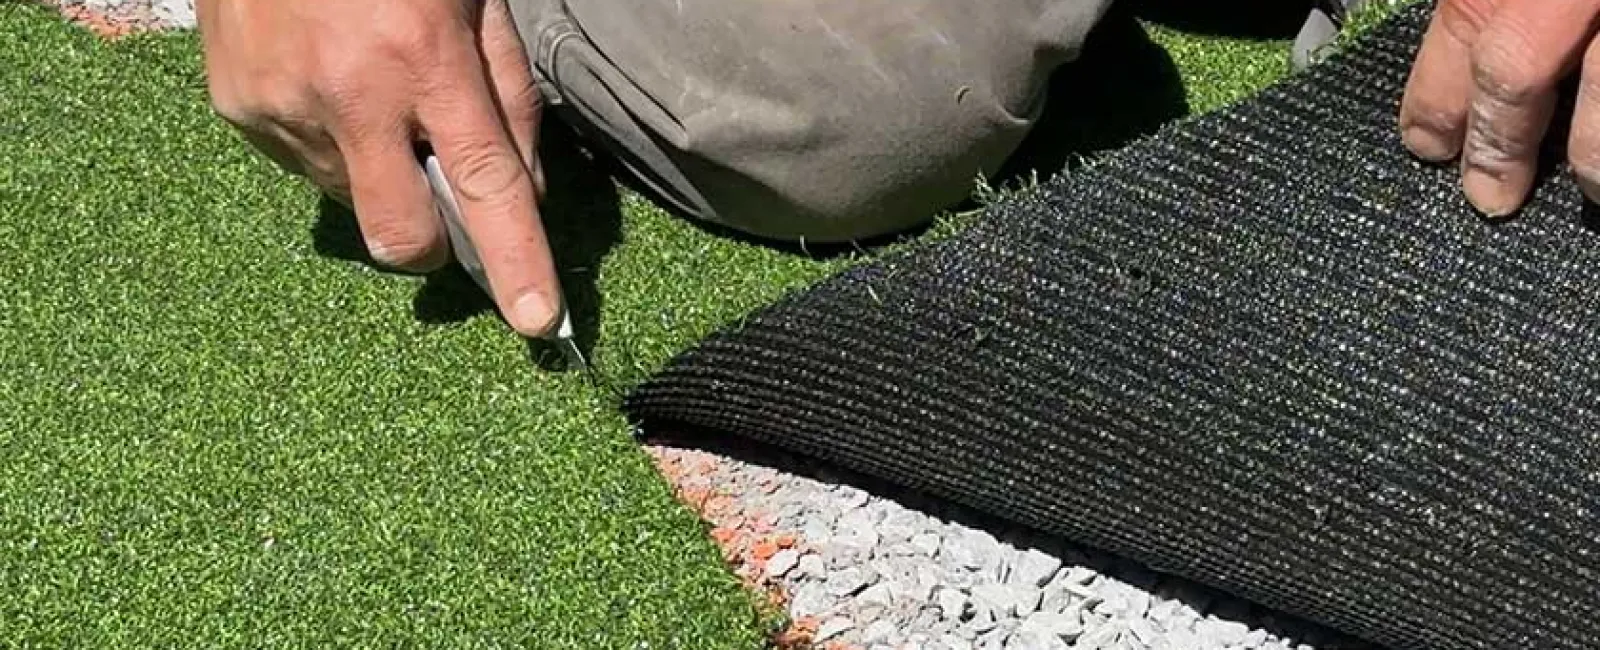
With the base ready, the turf is rolled out and positioned. Fiber direction is set carefully because fibers need to run consistently across the entire putting surface for uniform ball roll. Sections are trimmed to fit the shape precisely and seamed using joining tape and adhesive beneath the turf. Edges are anchored with landscape nails or adhesive depending on the surrounding surface type. For greens bordered by concrete, pavers, or decking, adhesive bonding creates a clean, flush transition that holds through repeated temperature changes.
Step 6: Apply Infill
Fine sand infill is spread evenly using a drop spreader and worked into the fibers with a power broom. The infill stabilizes the backing, keeps fibers upright, and controls ball roll speed. Infill quantity is calibrated to hit the target stimp speed: more infill slows the surface, less speeds it up. Getting this right is one of the most impactful differences between professional installation and a DIY approach, and it requires hands-on experience with the specific turf product being used.
Step 7: Install Cups and Final Inspection
Hole locations are cut into the turf and cups are set flush with the surface. Multiple placements, typically two to five for residential greens, allow practice from different distances and angles. The full surface is then brushed, lightly rolled, and inspected for seam quality, fiber direction, edge security, and infill distribution. Test putts across multiple angles confirm consistent speed and roll before handover.
Maintaining Your Artificial Putting Green
Artificial putting greens and golf surfaces need far less attention than natural grass but benefit from a small amount of regular care that keeps performance consistent across the full lifespan of the installation.
Weekly: Remove leaves and debris with a leaf blower and rinse the surface after heavy pollen or dust accumulation. Organic material left on the surface for extended periods can compact into the infill and affect surface firmness and ball roll.
Monthly: Brush the turf with a stiff-bristle broom or power broom to keep fibers upright, paying extra attention to high-traffic areas near the cups where fibers flatten fastest. Check infill levels and redistribute or top-dress if certain areas feel noticeably softer or faster than others.
Seasonally: Roll the surface to maintain consistent firmness and inspect edges and seams after freeze-thaw cycles, which are common across the Northeast. Catching minor edge separation early prevents more significant repairs later. After winter, allow any snow or ice to melt naturally rather than using metal tools directly on the turf surface.
You will never need to mow, water beyond rinsing, fertilize, aerate, reseed, or apply pesticides. Total maintenance time for most residential greens runs under an hour per month, which is one of the most practical advantages this investment delivers over a natural grass alternative.
Ready to Build Your Putting Green?
Turf Tek USA is the Northeast's most experienced artificial turf installer, serving Long Island, New York, Westchester, Fairfield County CT, and New Jersey. Our products are built to handle Northeast winters and heavy use across a 10 to 15-year lifespan.
Every project is backed by a 10-year product warranty and a 2-year installation warranty, with 0% financing available for 12 months. Call (631) 651-5777 or contact us for a free site visit and estimate.